CLICK HERE FOR FREE BLOGGER TEMPLATES, LINK BUTTONS AND MORE! »

Tuesday, October 25, 2011

My Creative Time Design Team Call

Well I thought I would throw my hat card in for the Design Team Call over at My Creative Time http://www.creativetimeforme.com/.  I just love Emma's enthusiasm, craftiness, wonderful stamps and dies. She is quite an inspiration to me and has the best ideas! Here is the card I would like to submit.

Here is the Recipe
A2 card cut at 5 1/2" x 4 1/4" with white cardstock by Papertrey Ink - Stamper's select white cardstock-
8 1/2" x 11"   http://www.papertreyink.com/pb_paper.html
Blue Mat cut at 5 1/4" x 4"- cardstock by Bazzill
Paisley Mat cut at 5" x 3 3/4" Bazzill Basics Divinely Sweet Collection
http://store.scrapbook.com/bb-303987.html?t12-13=bazzill+basics&t14=divinely+sweet
The 3 mats were rounded with the 1/4" Corner Chomper by W R Memory Keepers
The rosette was made with the Tim Holtz Mini Rosettes Die and using the Divinely Sweet Collection

by Bazzil
http://store.scrapbook.com/sz-657177.html
I inked the rosette with Rasberry Fizz ink by Papertrey Ink and attached a turquoise button and some bling from my stash.
The red, pink and white strip is also from the Divinely Sweet Collection. I just eyeballed the width and then used my Dotted Scallop punch for the edging on the strip
http://www.eksuccessbrands.com/ektools/Products/Dotted_Scallop_Edger_Punch_EKPL8026.htm
The Happy Birthday sentiment if from My Creative Time stamp set- Gift Card Sentiments and stamped with Rasberry Fizz ink - http://shop.creativetimeforme.com/
The label is from My Creative Time Die- Stitched Oval Die
I finished the card with some bling rhinestones from my stash
I made and envelope to match the card using the same collection of paper by Bazzill.
Thank you for looking! Good luck to everyone that is trying out for the Design Team.


Halloween Pencil Toppers

I had a package of 20 Halloween pencils laying around the house and thought it would be fun to make some pencil toppers for these and give them to the various small children of my family and friends. I completed the pencils and then made little treat bags with the pencils, some straws, a little bit of candy, erasers and other fun stuff like that. I will post the picture later of all of the bags. Here are the pencils for now.

I used the Tim Holtz Rosette Decorative Strip Die- Mini Paper Rosettes to make all of the toppers. I used various Halloween Paper packs- K and Company, Martha Stewart and paper I printed from my Cricut Imagine and the Hopscotch Papers and Pattern Cartridge. Instead of printing the pattern on white cardstock, I printed it on orange cardstock to give it a totally different look.
http://kandcompany.eksuccessbrands.com/product/Spooktacular+12x12+Designer+Paper+Pad+1.aspx

http://main.cricut.com/shopping/detail-Cartridges-Imagine-Cricut-Imagine-Colors--Patterns-Cartridge-Hopscotch-255-1061.aspx

I hot-glued the small rosette to the large rosette and decorated the centers of the rosettes with various brads, stickers and chipboard die-cuts from Studio G, K and Company and Recollections. I then hot glued each rosette set to both sides of the pencils. I also inked the rosettes with Tim Holtz Distress Ink -Black Soot
http://store.scrapbook.com/ri-tim19541.html
I also tried my hand at artistic photography of these pencils- not sure if I really pulled it off, but I tried!


Anniversary Card

Here is an Anniversary card I made for my mom and step-father.

The card base and it's layers are cut from the Birthday Bash Cricut cartridge and I used Papertrey ink cardstock.

 The print paper is from a DCWV mat stack - Hippie Chic - I did not even cut the paper- just took it right out of the 4.5x6.5 matstack and adhered it with my ATG glue gun.
http://diecutswithaview.com/product_view.php?id=1914

The 2 large hearts were punched from a Creative Memories punch called Sweet Heart Maker and some of the Hippie Chic matstack
http://www.creativememories.com/Content/Shop/Product.aspx?pr=InspectOffering&s=639923&dpr=Search&ds=heart punches

I used the white ribbon to add a little interest and cover up the rough edges. It is from the Tim Holtz Idea-ology Collection http://store.scrapbook.com/ch-th92877.html

I finished it off with some buttons from my stash and called it done.

Altered Letters for my Granddaughter's room

These were white letters my daughter purchased for my Granddaughter Lola's room. I thought that I could cute'n them up some chipboard pieces, butterflys, stickers and rub-ons. Each letter had a certain color that I incorporated into them. They are hung over her crib. I think Lola really likes them!

Here's Lola!
 I had fun making these.
The chipboard die cuts are from Basic Grey- the Olivia collection- stinkin' cute! http://www.basicgrey.com/scrapbook/shop/product/via-2669/collection:current
The swirly stickers are from Kelly Panacci- I have had various packages of these for years because I keep buying them- I love the shapes
The Butterflys are from my stash of things I buy because they are cute- haha
The green tree is from some felt embellishments I had. The Metallic looking stickers are again from my collection and the chipboard glitter flowers are from a K and Company pack.


Thank you for looking and have a crafty day!

Birthday Card and Gift for my Step-Father

This is my 1st time making an S-fold card. I got the idea and theme from a card that Mary at http://www.cardztv.blogspot.com/. I like the idea of the Dinosaur and putting my Stepfather in the tree because he is "old as a dinosaur" - haha. He is a good sport and loved his card.

The "Recipe":
Card base was cut at  8 1/2"x5 1/2". It was folded in half at the 4 1/2" and then you fold back the front of the card to meet the crease at 4 1/2"- this creates the S fold. I used Bazzill Cardstock for the base.
The front panel paper and the panel behind it was cut at 2 1/4" x 5 1/4". The larger inside panel (paper with dots) was cut at 4 1/4" x 5 1/4". The paper used for the panels is from a Martha Stewart stack.

The Dinosaur and tree are from the Create-a-Critter cartridge. The dinosaur was cut at 3 1/2" and the palm tree was cut at 4 1/4". The paper used is from Cut-Mates PaperLayerz- I love this paper and it really does cut great (nice and clean) http://shop.aboverubiesstudio.com/featured/paper-layerz-24-sheet-pack.html

The body and clothes were cut at .75 and is from Everyday Paper Dolls. I cut and adheared a head to match the body size (as best as I could). I probably should had done some doodling on the card- it might had made it pop a little more. Oh well...I still had fun with this card!

Richard loved playing all kinds of board, card and dice games. He loves making up his own score sheets and sometimes his own rules, so I thought it would be nice to decorate a 3 ring binder. I put dividers in so he can file his score sheets. I also included a pack of mechanical pencils, sticky notes and a calculator in a pencil bag.
The game night and dice were cut from Designer's Calendar. The cards with chips and money with chips was cut from The Father's Day cartridge.
Sorry about the glare in this picture!

Thank you for checking my blog out!

Monday, October 24, 2011

Swaps for Creative Escape

I signed up in advance for a few of the swaps at Creative Escape. I participated in 3 of the swaps- Christmas Tag Swap, Inchie Swap, and the Charm Swap. A swap, in case some of you don't know is where you make 10, 20 or however many of the same items and then swap them with other participants in the swap. You will end up with 1 of your own creation and 9 or 19 others. Pretty fun and I received some great items... Here are some pictures of my projects...


Inchie swap
I used 1" square Stampboard that I inked with Tim Holtz Distress ink in Vintage Photo. I stamped the word Love on it from a generic wood stamp I have had forever. I then punched out all of the red hearts- I did not have any red paper so I print the red paper on my Imagine. I glued the hearts to the squares and then stamped the word Love on it from a generic wood stamp I have had forever. It was then finished off with some doodling and a turquoise square on the back of the board. There had to be some of the Creative Escape colors in this project- these were, black, white, red and turquoise.

Charm Swap- I cut these from the Charm icon on my Life's a Beach Cricut Cartridge- these were cut at 3" on Shrinky Dinks. I then baked them in my craft oven, painted them with copics and bic markers. They were finished off with a little glitter.


Christmas Tag Swap-these tags were cut from the Tags, Bags, Boxes and More Cricut Cartridge at 3 1/2". I am not sure but I believe the trees were cut from Winter Frolic at 1". I used some K and Company Christmas paper from last year's collection. The sentiment is from Inkadinkado and stamped with green ink from Momento.

Thanks for looking!

Back to Blogging

Oh boy was I right by my last post...I am the worst blogger ever...now I really hope to stay on track with my blog post and creations!

As I said in my last post my family all pitched in and sent me to Creative Escape for my 50th Birthday! I was so excited to go and had a fabulous time. I made a few friends and did some great projects. It was so awesome to just be away and craft for 3 days- I loved it! There were some great teachers at the event, 2 of which were Heidi Swapp and Ali Edwards!  Here are a few pictures from my weekend...


 Not a very good picture but Creative Escape was an Event "Worth Remembering"


 This is my friend Amanda that I met at Creative Escape. She designs the most wonderful fabrics and papers for Bazzill. Go check her out at http://www.thequiltedfish.typepad.com/

                                      
This Fabulous red T-Bird was inside the hotel at Creative Escape. This car is owned by "Mr. Bazzill" himself. How awesome is this car!?

Just me at the Farewell Dinner (all meals were included)

Friday, August 5, 2011

I feel like the WORST Blogger ever!

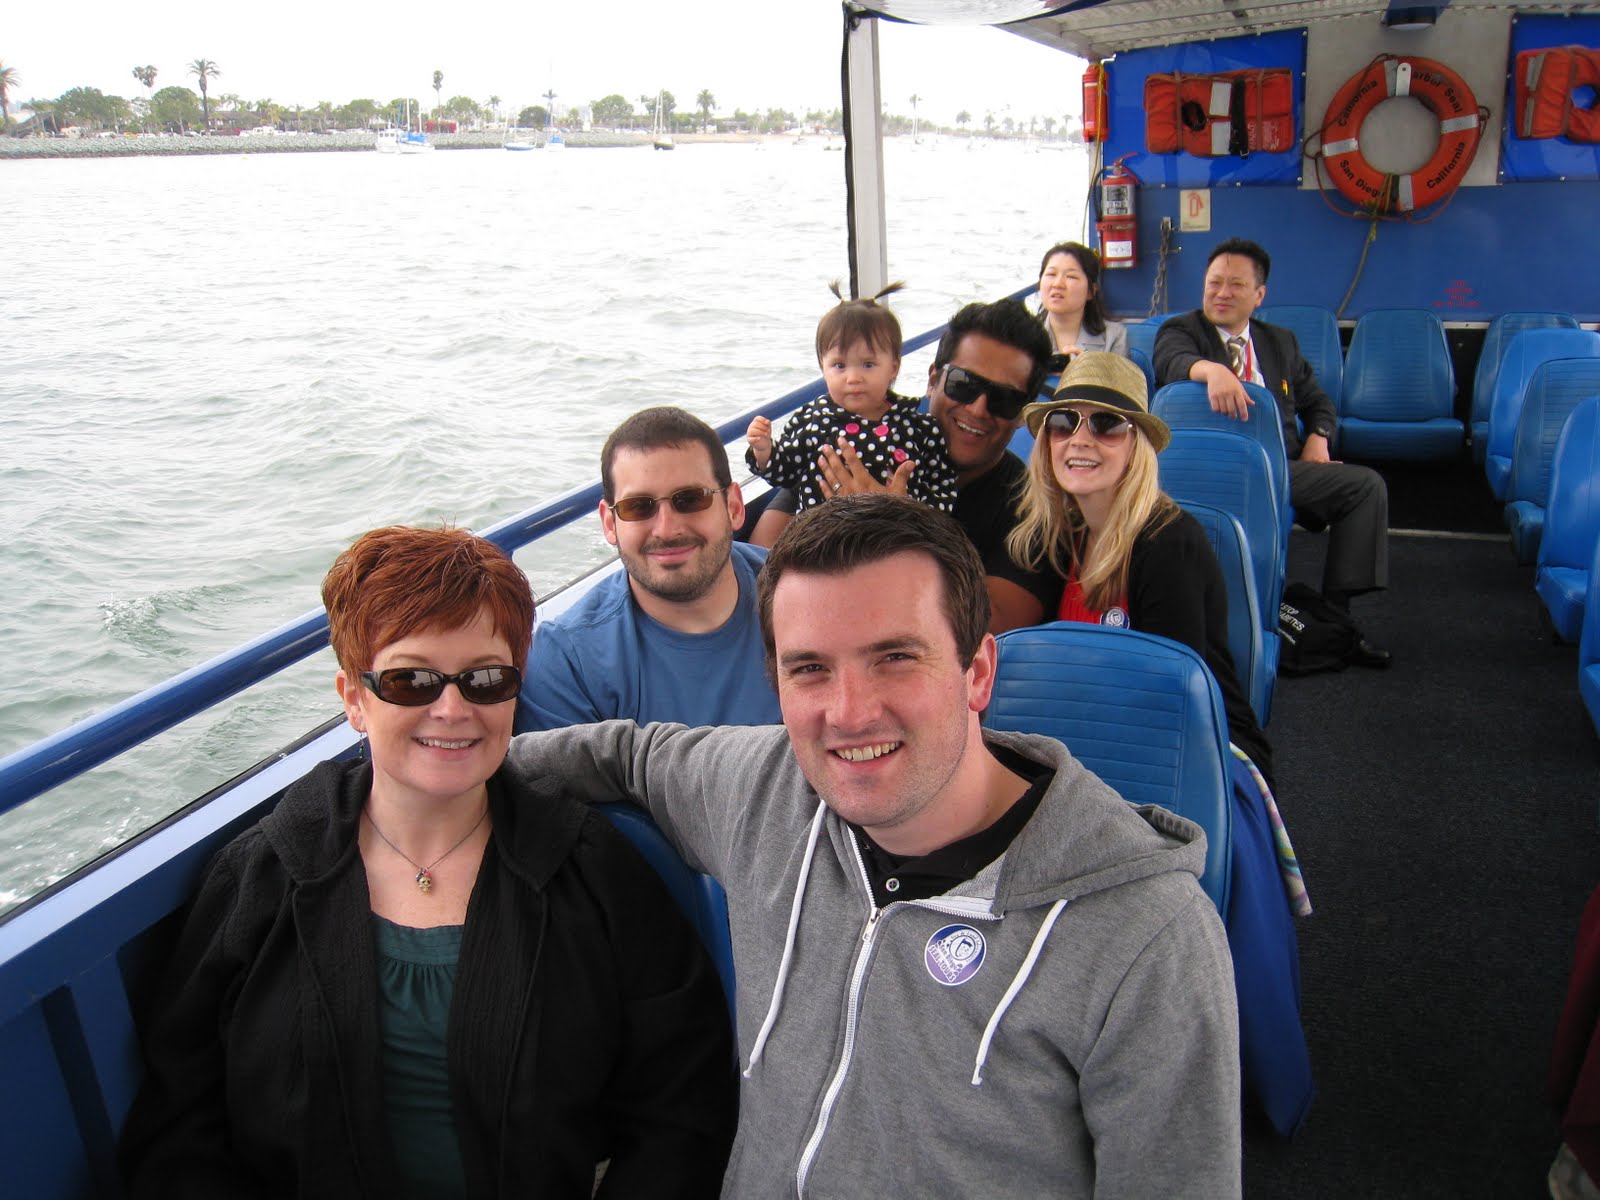
Hello...again it has been awhile since my last post! I feel so bad when I don't blog often. My last reason was because my family surprised me with a trip to San Diego for my 50th birthday! This time I don't have a reason other than sometimes life gets in the way of doing the things you want to do! My husband and my other family members all chipped in and are sending me to Creative Escape in August!http://creativeescapeaz.com/2010/  I have been wanting to go to this for years and now this year I will finally be able to. It is the last year for this exciting event- I am excited to be going but sad that it will be the last year. All the classes and meals are included. My work also surprised me with 2 paid nights at the hotel- Sheraton Wildhorse Pass. All I need to do is pack up my stuff and take some spending money with me. Since it is held in Arizona and that's where I live I do not need to fly anywhere.  Here is the birthday card my husband made for me (he wanted to show what a bad card maker he is-haha) so he made the worst looking card he could possibly come up with! I really don't think it is THAT bad. I am so thankful to have such thoughtful family members and friends. Anyway here is the card that my husband Anthony made for me. I don't have the recipe or measurements because it is his creation. Also a few photos of my 50th. Thanks for looking.

Crafy hugs,
Teresa


Friday, July 8, 2011

Father's Day Cards

I know this post is really behind, but I have been out of town for a surprise 50th Birthday trip (more on that later)! Here are some cards I made for my Father-in-Law and my Step-Father for Father's Day. My Dad passed away in 1998 but he is always in my thoughts.

The first card was for my Father-in-Law. He is always cooking up something delicious for us and sends it home with us. My favorite is Egg Plant Parmesan. He is Italian so of course everything is made from scratch and is really, really tasty! He also has 2 horses and loves anything Western. This is the reason he is a Cowboy in the Kitchen- haha!

The Recipe:
Card base cut with Kraft cardstock at 6x6
Mat cut at 5 3/4 x 5 3/4 with some Rustic looking paper from my stash- I think it is by Cosmo Cricket, but you can barely see it.
The Kitchen mat layer was printed and cut on my Imagine at 5 1/2x 5 1/2 using the Kate's Kitchen Imagine cartridge
The Chef was printed and cut on my Imagine at 3" and is also from Kate's Kitchen
The cowboy boots were cut at 1/4" and they are from the Wild Card cartridge. They were just cut with some brown cardstock from my scrap stash. I drew some details on them with a black sharpie.
The horse is from Create at Critter and was cut at about 2". Cardstock is from Bazzill.
I finished it off with some doodling, some stickers from a western pack I had (including the Sheriff's badge) and then made a lasso out of some twine I had.
The Dad sentiment was stamped with some letter stamps and Momento Ink in Rich Cocoa
My Father-in-Law, Sal loves the card and it is displayed in his Western themed room!
Card for my Father-in-Law

This next card is for my Step-Father, Richard. He loves to play cards (all sorts of games), loves pizza with soda, and really enjoys playing golf. This card is basically saying Enjoy-it's your day and do what you love!

The Recipe:
Card Base cut at 6x6" with Black Papertrey Ink Cardstock
White mat cut at 5 3/4"x5 3/4" with Papertrey Ink Cardstock
Red mat cut at 5 1/2"x5 1/2" with Papertrey Ink Card Stock
Patterned Mat is from DCWV Dots, Stripes and Plaids stack and is cut at 5 1/4"x5  1/4"
The Cards and Chips are cut from the Father's Day Seasonal Cartridge with Bazzill Cardstock (I don't remember the sizing but think it was cut at 3"). When you cut the cards out you can see through them so I took some white cardstock and traced around the cards then cut out the pattern and glued it behind the cards.
The Golf club, tee and ball are also cut from the Father's Day cartridge. I ran the white cardstock for the ball through my Texture Boutique and used the Dotted Swiss Cuttlebug folder to give it some texture. Also when you cut the club it is see through as well, so again I traced in and took some silver cardstock and glued it behind the opening
The Pizza and Soda can were cut from Simply charmed at about 1". I just used various scraps of paper. I also inked the off white cardstock for the pizza crust with some Creamy Brown ink.
I finished it off with some doodling and a stamp that says "Enjoy"

Father's Day card for my Step-Father

Thanks for looking! Have a great crafty day!


Wednesday, June 15, 2011

Birthday card for my Mom

Here is a birthday card I made for my mom. My step-father "hired" me to make a card from him and their cat and dog. This was kind of inspired by the Disney Pixar movie "Up". The balloons are taking him away and the cat and dog are holding on to him- at least this is how I see it in my eyes. Anyways- thanks for looking and I hope to add more to my blog soon!


Recipe:
Card base is 6x6 and the paper is Playtime Collection from DCWV-purchased at Michaels
The layer on top of the base is cut at 5 3/4x5 3/4 and the cardstock is Bazzill
The top layer is cut at 5 1/2x5 1/2 and the paper is from the Playtime Collection by DCWV and it already had the outdoor scene on it-but I added an extra cloud
All other paper is by Bazzill
The man image is cut at 3" and is cut from the Car Decals cartridge
The dog is cut at 2 1/2" and the kitty is cut at 2 1/4", also from the Car Decals Cartridge
I used google eyes for the man and dog and bling from my stash for the cat's eyes
I finished the card off with some white gel pen stitching and a "Let's Celebrate" Stamp from my collection and Rich Cocoa ink by Memento
The envelope is made from the K and Company Confetti Collection

Monday, May 23, 2011

Cricut-tastic Award!


Hi All!!
I am super excited to have received this award from Patty at http://craftykitten1.blogspot.com/. Thanks, Patty! I will wear this badge proudly. I am supposed to share 5 Cricut related things about myself...so here we go...
1. I started with the Baby Bug then gave it to my mom after my husband gave me the Expression for Christmas one year.
2. I also own the Gypsy, Imagine and just received the Cricut Expression II.
3. I am a Cricut Circle member
4. I currently own 111 Cricut/Imagine Cartridges
5. I am obsessed with searching EVERYWHERE for the lowest priced cartridges I can find!

Here are the rules for this award:


Wear this badge proudly on your blog and share it with friends.

Share this award with 10 people that you think have Cricut-tastic blogs.

You also have to tell 5 cricut related things about yourself

Here are 10 people I think have Cricut-tastic blogs. Check them out when you get a chance:
1.Creations with Christina  http://www.creationswithchristina.com/
2.The Paper Boutique  http://www.paperboutique.blogspot.com/
3.Cricutology http://www.cricutology.blogspot.com/
4.Cardztv http://www.cardztv.blogspot.com/
5.Create with Expression http://www.expressionbypinke.blogspot.com/
6.My Beautiful, Crazy...Scrappy Life http://beautifulcrazyscrappylife.blogspot.com/
7.Feral Scraps http://feralscraps.blogspot.com/
8.Kelly's Crafty Life http://kellyscraftylife.blogspot.com/2011/05/3d-topiary-tree.html
9. Crafty Rocket Science http://craftyrktsci.blogspot.com/
10.Creations with Becka http://creationswithbecka.blogspot.com/

Wednesday, May 18, 2011

Link Up Love Party with K Andrew

Want a great way to get to know your fellow crafters? Then  follow the Link up Love Party by going to Getting Cricky with K Andrew- http://www.gettingcricky.com/. Get people to know your blog and maybe find some new inspiration and some new friends! So fun!


Tuesday, May 17, 2011

Mother's Day Cards


I know these are a little late for posting, but that's okay. Here are a few Mother's Day cards I created with the help of my new Cricut Expression II-which I LOVE by the way!!! 2 of the cards were made with the Florals Embellished Cricut Cartridge and the Super Mom one was made with the Cricut Decals Cartridge that came pre loaded on the new Expression. The new Expression II came with 4 pre-loaded cartridges that are super sassy and super duper cute! This new machine is fabulous and very easy to use. I love seeing the images on the mat before I cut them- really helps with paper placement. The touch screen is very user friendly. Do yourself a favor and check the new Cricut Expression II out and if you can treat yourself- do it!!!


Super Mom Card for my Daughter, Jen

This card is a standard A2 Card, cut at 5 1/2" x 4 1/4"
The blue layer is cut at 5 1/4" x 4"
The scalloped circle is a Sizzix die- must be about 4 1/2" since is goes over the card base a little
All of the cardstock is by Papertrey ink.
The mom is cut at 3" and the baby is cut at 2"
Finished it off with some doodling with my white gel pen and white bow with Papertrey ink ribbon


Card and Envelope for my Grandma

This card is a standard A-2 Card
Card stock is by Papertrey Ink and Bazzil
Purple ribbon and bling are from my stash
"Grandma" Sentiment is stamped with Tuxedo black ink by Momento
Floral image is from the Florals Embellished cartridge and is cut at 3"
The pink paper is from SEI and the floral paper is from K and Company
Punch is Dotted Scallop by EK Success
Doodling with my white gel pen


Card for my Sister

I think I cut this card base at 6 x 6
Cardstock is by Papertrey ink
Pink pattern paper is by SEI
White ribbon is from Papertrey ink
Butterfly is cut from the Floral's Embellished cartridge at 3 1/4"
Punches are from EK Success- Dotted Scallop and Deco Scallop
Bling is from my stash
Colored in Happy Mom's Day (cut from Florals Embellished) with a glitter pen
Finished the card with some doodling with my white gel pen


Me and my Mom on our "special" day out
I forgot to get a picture of my mom's card, but here is a picture of us at a Scrapfest the day before Mother's Day at our local Scrapbooking store, Scrapbooks, etc... I treated her to a lunch and a scrapbooking project class before the Scrapfest (12 hours of scrapping). We had a great time together!!

Thanks for looking

Tuesday, May 10, 2011

Scrapbook Pal

Check out Scrapbookpal.com. for some great deals on scrapbooking and crafting supplies.
http://www.scrapbookpal.com/

Friday, April 22, 2011

Cricut Expression 2 Giveaway!

My Pink Stamper is having a Cricut Expression 2 Giveaway. How exciting is that!!! Please go to http://www.mypinkstamper.com/ for all of the details and good luck!

Tuesday, April 19, 2011

Birthday Card for my Son

Hello all my fellow crafters!

Here is a Birthday card I made for my son. He is going to be 29 on April 20th. I can't believe how fast time flies. I remember when he was just a little tyke just like it was yesterday!

Then

Now


And Finally the card...


Recipe:
All cardstock is by Paper Trey Ink:
Black cardstock cut at 11" x 8 1/2" and then folded in half to make a card base of 5 1/2 x 4 1/4.
White cardstock is cut at 5 1/4 x 4"
Red cardstock is cut at 5" x 3 3/4" and then embossed with the Cuttlebug Embossing Folder- Happy Birthday
Red Cardstock is also punched at the bottom using the 3/8" ribbon punch by EK Success. I then wove white ribbon from Papertrey Ink through the punched border.
The Cupcakes are actually outline stickers placed on Be Creative Tape and Crystal Glitter Ritz (this glitter does not come off of the tape- it's wonderful). I then colored in the white glitter with stamp markers (you can even use Crayola markers with this product). I then cut the cupcakes out by free hand and adhered them with dimensional tape.
The stamped sentiment, "Cupcakes and Kisses" is from Hampton Arts and I used Tuxedo Black ink by Momento. I then went over that with a clear glitter pen.
I used a black and white pen for the dots and dashes on the white and black cardstock.
This was my first time using Paper Trey Ink Cardstock and ribbon. I loved both of them. It is very high quality. I highly recommend them. Check them out here:

http://www.papertreyink.com/

Creating Keepsakes Scrapbook Convention in Mesa, AZ

I went to the Scrapbook Convention this past weekend with my mom and sister- she flew in from California. We made it a Girl's weekend and decided to stay at the Marriott right next to the Convention center. We had a great time going to classes and the evening crops on Friday (Cricut Circle Crop for me) and Saturday to the general crop. The 3 of us brought so much scrapping stuff and used maybe 1/16th of what we brought- haha! We took 2 Copic Markers classes so now we are hooked on Copic Markers- these are great, but expensive.

I also tried this new product-well new to me- called Be Creative Tape Sheets. It is a double sided tape (Be Creative Tape Sheets) that you cut to size and sprinkle this fine, fine glitter(Crystal Glitter Ritz) on it- then rub it in and apply an Elizabeth Craft Designs sticker to it (outlined in black, silver or gold).You can then color on top of the glitter with markers (not Copics as they bleed). The glitter does not rub off- the look is really nice! I will have another post showing a birthday card I made with these stickers, glitter, tape and markers. You can check these product out here:
ecraftdesigns.com


Here are a few photos from our weekend.

Our table at the crop- What a mess!

My sister and I fooling around

My mom and I with Cricut!

You never know where Cricut will turn up!

Oh, Cricut!